

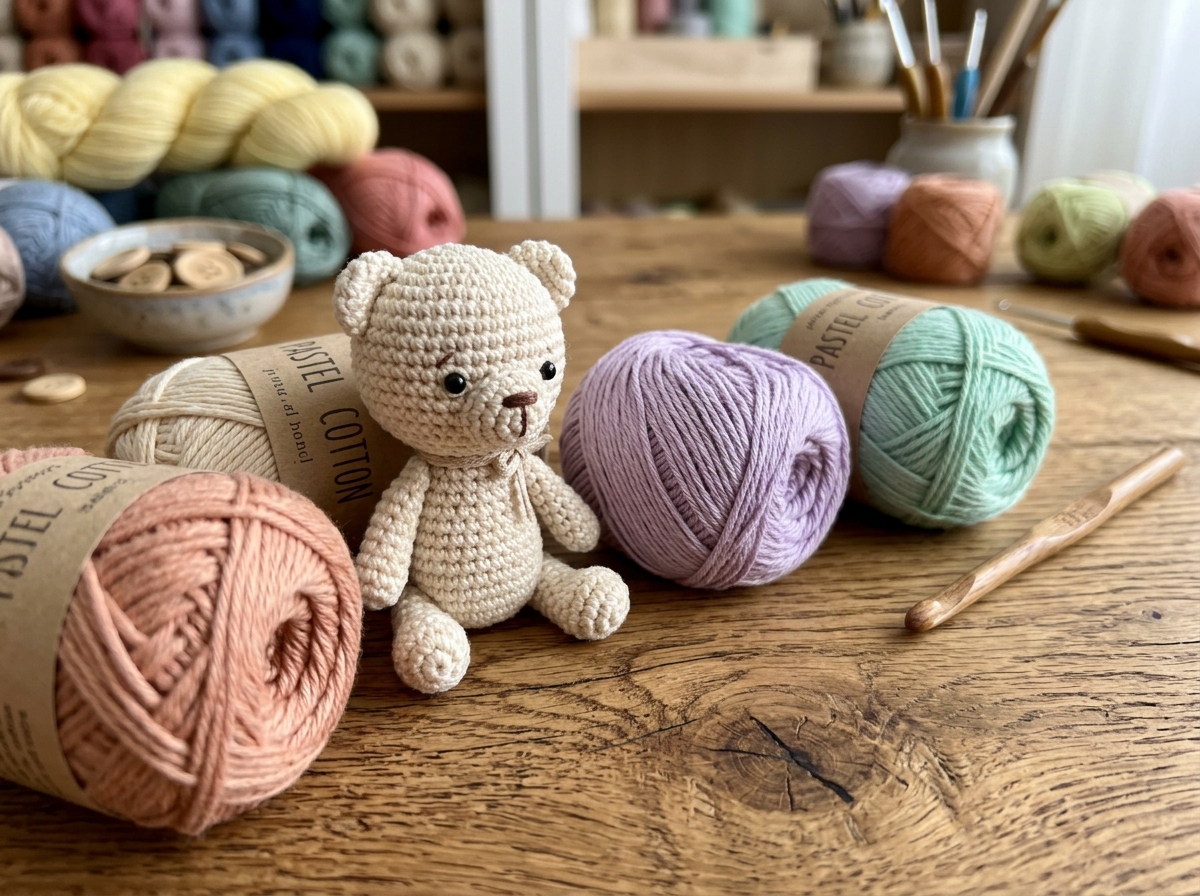
Amigurumi Basics: Shaping 3D Toys Without Stuffing Leaks
By The Slow Stitch · Terminology: US Crochet Terms · Reading time: 9 min read · theslowstitch.com
Amigurumi uses shaped crochet fabric to make small three-dimensional forms. Practise counting rounds, increases, and decreases before beginning a complete project. Use the yarn, hook, and construction details specified in a tested pattern.
What You'll Learn
By the end of this tutorial you will be able to:
- Select a hook size 1 mm to 1.5 mm smaller than the yarn band suggests
- Work in continuous spirals with a stitch marker instead of joining
- Identify the 'right side' vs 'wrong side' of round crochet pieces
- Execute the invisible decrease (inv dec) cleanly
- Stuff small limbs and bodies firmly without stretching the stitches
What You Need
Worsted weight acrylic or cotton (CYC 4)
3.5 mm or 3.75 mm (US E/4 or F/5)
Locking stitch marker, Blunt yarn needle, Scissors, Optional small amount of stuffing for a practice sample
Use the materials above for practice, adjusting the hook if needed for comfortable stitches. For a finished project, follow its pattern’s yarn, gauge and care requirements.
Abbreviations
| Abbr | Full Term |
|---|---|
| sc | single crochet |
| inc | increase (2 sc in same st) |
| inv dec | invisible decrease |
| MR | magic ring |
Choose a comfortable, dense fabric
Use smooth yarn so the stitches are easy to see. Start with the hook specified by your pattern or make samples with a few hook sizes. The fabric should hold its shape without openings that reveal stuffing, while remaining comfortable to work. This exercise makes a small shaping sample, not a finished toy.
Start and increase
Using US terms, work 6 sc in a magic ring (round 1). Continue in spirals without joining or chaining; mark the first stitch each round. Round 2: 2 sc in every stitch (12). Round 3: [sc in next stitch, 2 sc in next stitch] six times (18). Round 4: [sc in next 2 stitches, 2 sc in next stitch] six times (24).
Work even
Rounds 5–7: sc in each stitch around (24 stitches in each round). Move your marker each time. Let the work form a cup, with the V-shaped stitch faces on the outside. Keep your tension comfortable; do not force the fabric into a particular shape.
Practise an invisible decrease
Insert the hook under the front loop of the next stitch, then under the front loop of the following stitch. Yarn over and pull through those two front loops. Yarn over and pull through the two remaining loops on the hook. This consumes two stitches and produces one; it often makes a less noticeable decrease in right-side-out single crochet.
Decrease and close
Round 8: [sc in next 2 stitches, invisible decrease] six times (18). Round 9: [sc in next stitch, invisible decrease] six times (12). Add small tufts of stuffing if desired, without stretching the stitches apart. Round 10: invisible decrease six times (6). Cut a long tail and draw it through the front loops of the remaining six stitches with a blunt needle. Close gently and secure the tail. Keep this exercise as a practice sample.
Prefer to learn from a printed page?
Print this free lesson for a simple copy of the instructions. The planned paid PDFs are separate complete projects, with materials, measurements, step photos and finishing guidance.
Common Problems
| Problem | Cause | Fix |
|---|---|---|
| White stuffing shows through all the stitches | Hook size is too big, or overstuffing so hard that stitches stretch apart | Check for overstuffing and compare a sample with a smaller hook. Choose a comfortable hook that produces suitable fabric, not a fixed size reduction. |
| A seam appears at round joins | Joined rounds create a different transition from continuous spirals | This exercise uses spirals. Do not join here; for another pattern, follow its specified construction. |
| Decreases leave large lumpy holes | Using standard decrease (sc2tog) instead of invisible decrease | Try the front-loop invisible decrease with the right side facing outward and avoid stretching the adjacent stitches. |
Frequently Asked Questions
Are safety eyes safe for babies and toddlers?
Plastic eyes and other detachable parts are unsuitable for toys for children under three. Embroidered features avoid those particular detachable parts, but do not by themselves make a toy safe. Use an age-appropriate tested design and suitable materials and construction.
Why do my increases create a hexagon instead of a circle?
Stacked increases can form corners. For example, a 30-to-36-stitch round normally uses [4 sc, inc] six times. A staggered version is 2 sc, inc, [4 sc, inc] five times, then 2 sc. Both consume 30 stitches and produce 36. Follow the pattern when shaping is intentional.
What is yarn under vs yarn over in amigurumi?
Yarn under produces small square X stitches rather than V stitches. It makes the fabric tighter, but can tire your hands faster. Either method works well.
How do I close the final 6 stitches?
Thread your yarn tail on a blunt needle, run it through the front loop of all 6 stitches from inside to outside, then pull gently like a drawstring.
Save this tutorial or share with your crochet circle
What to Make Next
Three logical next steps to continue practicing:
How to Make a Magic Ring (Magic Circle) Without Tears
Continue with this related lesson.
Single Crochet: The Foundation Stitch for Every Project
Continue with this related lesson.
Slip Stitch and Invisible Finishing: Neat Edges and Seams
Continue with this related lesson.