

How to Make a Magic Ring (Magic Circle) Without Tears
By The Slow Stitch · Terminology: US Crochet Terms · Reading time: 5 min read · theslowstitch.com
A magic ring is an adjustable starting loop for working in the round. Hold the crossing strands steady as you practise. If the loop feels awkward at first, pause and reset your grip before making the next stitch.
What You'll Learn
By the end of this tutorial you will be able to:
- Wrap the working yarn in the secure X shape across your fingers
- Catch the back strand cleanly without twisting the loop
- Secure the loop with a single chain lock
- Crochet your stitches over both the loop and the tail strand
- Pull the tail to close the hole completely tight
What You Need
Any smooth worsted or DK weight yarn (avoid fuzzy chenille while learning)
4.5 mm or 5.0 mm
Tapestry needle
Use the materials above for practice, adjusting the hook if needed for comfortable stitches. For a finished project, follow its pattern’s yarn, gauge and care requirements.
Abbreviations
| Abbr | Full Term |
|---|---|
| MR | magic ring / circle |
| sc | single crochet |
| ch | chain |
Form the X Across Your Fingers
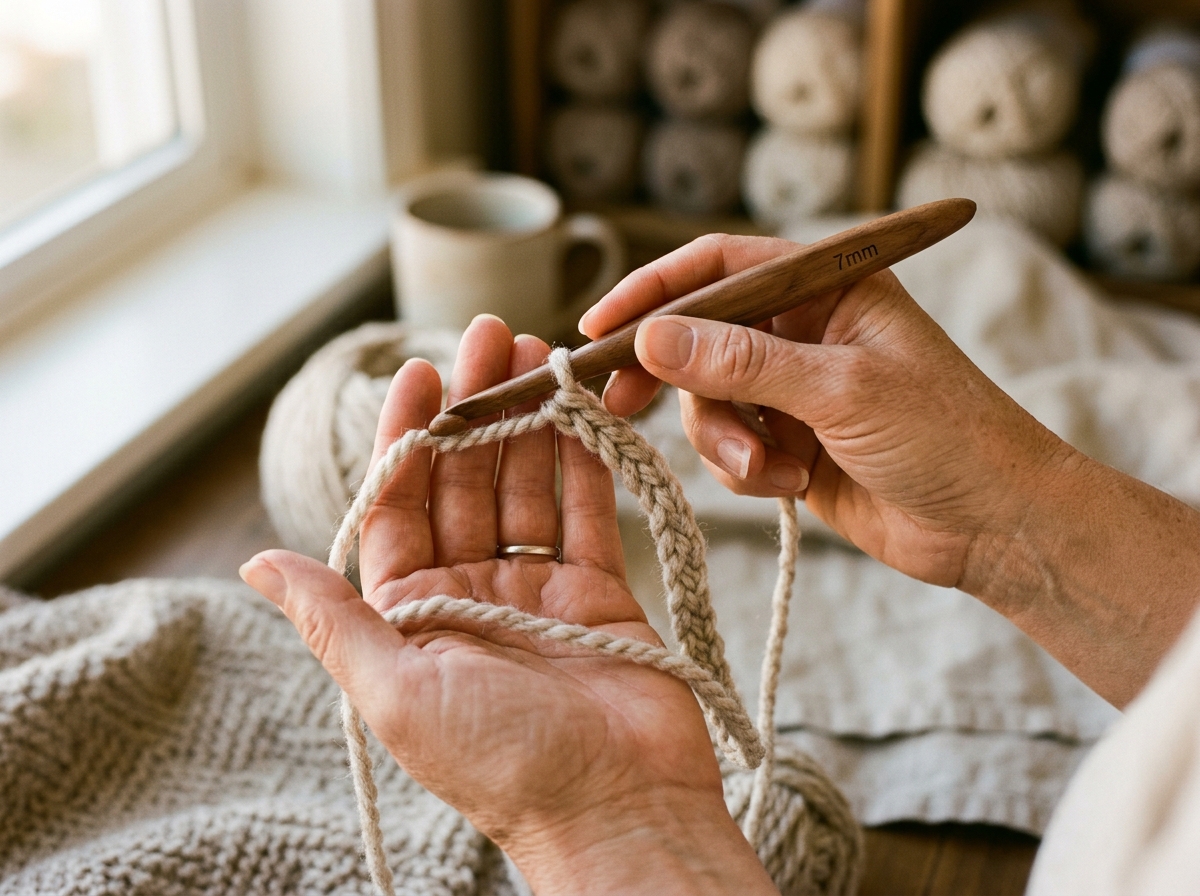
Leave an 8-inch tail. Lay it across your yarn-holding palm. Wrap the working yarn around your index and middle fingers, crossing over the tail to form an X. Hold the crossing with your thumb. Mirror the hand positions if needed.
Insert Hook and Catch the Working Strand
Slide your crochet hook under the front lower strand of the X, hook facing down. Catch the top back strand of the X and draw it under the front strand. Rotate your hook upward: you now have a twisted loop on your hook.
Make the Starting Chain
Yarn over and pull through the loop on the hook to make chain 1. It does not count as a single crochet. Slide the ring off your fingers and hold it near the crossing. This chain starts the work; the tail still needs securing later.
Work Your Stitches Over Both Strands
For this practice ring, work 6 sc into the ring, with each stitch enclosing both the ring and its tail. Do not count the starting chain. For a project, use its specified starting count.
Pull the Tail to Close
Hold the six stitches and gently pull the tail to close the centre. Do not force a yarn that catches or starts to break. For spiral work, mark the first sc and work the next round directly into it; for joined rounds, follow the pattern’s joining instructions. Weave the tail securely into the back of the work before trimming it.
Prefer to learn from a printed page?
Print this free lesson for a simple copy of the instructions. The planned paid PDFs are separate complete projects, with materials, measurements, step photos and finishing guidance.
Common Problems
| Problem | Cause | Fix |
|---|---|---|
| The ring will not pull shut when I tug the tail | You worked stitches over only one strand instead of two, or split the plies of the yarn | Double check that every stitch wraps over both the circle loop and the tail. |
| The magic ring popped open after washing | The starting tail was cut too short without being woven in three directions | Never snip the tail flush! Thread it on a needle and weave back and forth three times. |
| Chenille or velvet yarn snapped when pulling tight | Plush polyester yarn has high friction and a weak core thread | For plush yarn, use the chain 2 method: chain 2, work 6 sc into the first chain. |
Frequently Asked Questions
Can I use this for granny squares?
Yes, starting a granny square with a magic ring lets you pull the center hole closed so no daylight shows through.
What if I cannot get the hang of it?
The classic alternative is to chain 4, slip stitch into the first chain to make a ring, and work into the center. It leaves a tiny hole, but it works.
Does the magic ring work with double crochet?
Yes. For a counted chain-3 start, make chain 3 instead of the chain 1 in step 3 (or add two chains to the existing chain 1). Count it as the first dc only when the pattern says to. Follow the project’s starting stitch count.
Why does my ring twist up while I crochet?
Keep the stitches loosely gathered near your fingers and do not pull the tail until all stitches for round 1 are finished.
Save this tutorial or share with your crochet circle
What to Make Next
Three logical next steps to continue practicing:
Amigurumi Basics: Shaping 3D Toys Without Stuffing Leaks
Continue with this related lesson.
Classic Granny Square: The Step-by-Step Method
Continue with this related lesson.
Single Crochet: The Foundation Stitch for Every Project
Continue with this related lesson.