

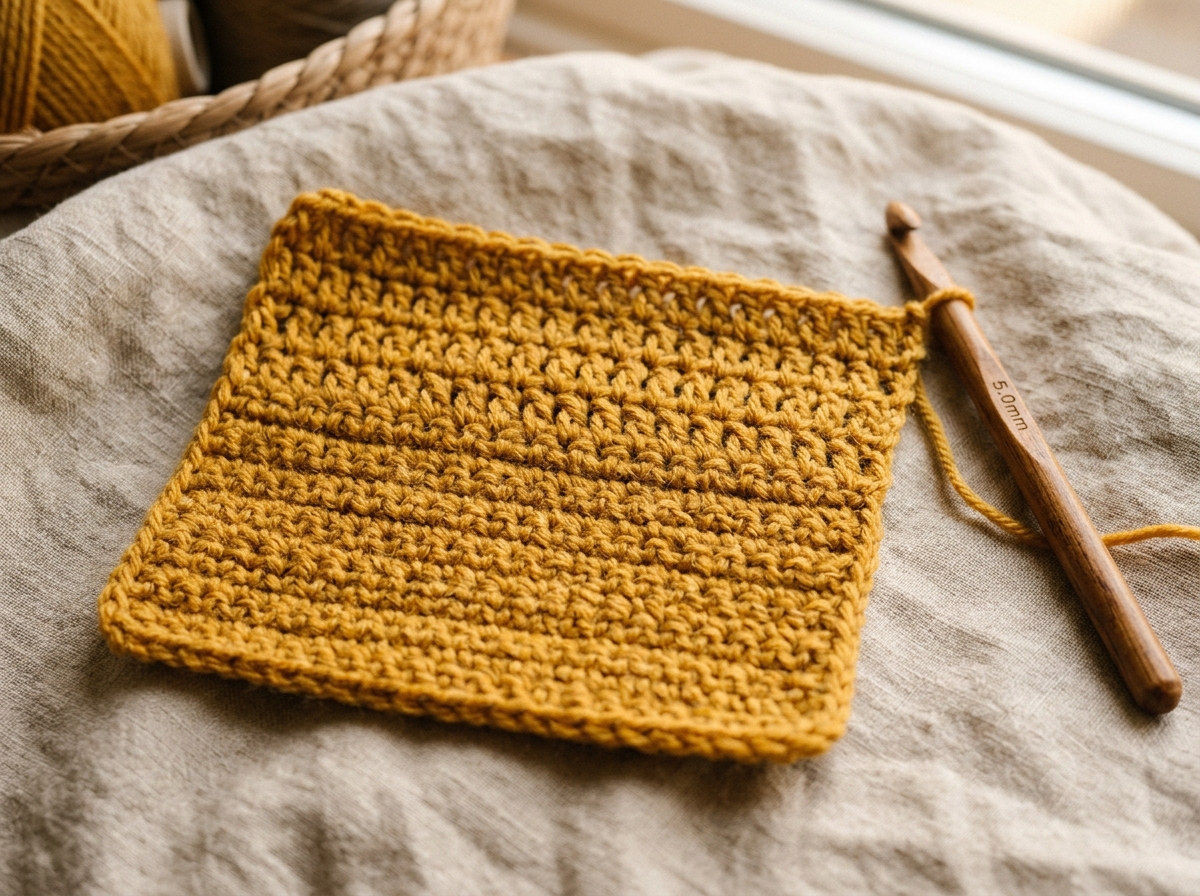
Single Crochet: The Foundation Stitch for Every Project
By The Slow Stitch · Terminology: US Crochet Terms · Reading time: 6 min read · theslowstitch.com
Single crochet makes a compact fabric and is a useful place to begin practising stitch placement and counting. This lesson uses US terminology: US single crochet (sc) is UK double crochet (dc). Always check which terminology system a pattern uses before starting.
What You'll Learn
By the end of this tutorial you will be able to:
- Hold your hook and yarn with comfortable, relaxed tension
- Work into the starting chain without splitting strands
- Complete the 2-step single crochet movement cleanly
- Spot the turning chain so your edges stay straight
- Count your stitches at the end of every single row
What You Need
Worsted weight acrylic or cotton (CYC 4) in a light color
5.0 mm (US H/8)
Yarn needle with a blunt tip, Small scissors, 2 locking stitch markers
Use the materials above for practice, adjusting the hook if needed for comfortable stitches. For a finished project, follow its pattern’s yarn, gauge and care requirements.
Abbreviations
| Abbr | Full Term |
|---|---|
| ch | chain stitch |
| sc | single crochet (US) |
| st(s) | stitch(es) |
| yo | yarn over |
Make a Slip Knot and Foundation Chain
Leave a 6-inch tail. Cross the working yarn over the tail to make a loop, pull a bight of working yarn through it, and place that new loop on the hook. Gently tighten the knot while leaving the loop free to slide on the shaft. Yarn over from back to front and pull through the loop on the hook to make one chain. Repeat until you have 16 chains. Do not count the slip knot or the loop on your hook.
Insert Hook in the Second Chain from Hook
Skip the loop currently on your hook. Skip the first chain next to it. Insert the tip of your hook under the top loop of the second chain from your hook. You will now have 2 strands resting over your hook.
Yarn Over and Pull Up a Loop
Wrap your working yarn from back to front over the top of the hook. Rotate your hook slightly downward so the throat catches the yarn. Pull that strand cleanly through the chain stitch. You should now have two distinct loops on your hook.
Yarn Over and Pull Through Both Loops
Wrap the yarn from back to front one more time. Catch the yarn with your hook and slide it smoothly through both loops on your hook. One loop remains. That is one completed single crochet stitch.
Work Across the Chain and Count
Insert your hook into the next chain along the row and repeat steps 3 and 4. Continue into each chain until you reach the end. Since you started with 16 chains and skipped the first, you must have exactly 15 single crochet stitches.
Turn Your Work and Begin Row Two
Chain 1. Turn your work around like flipping a page in a book. Look at the top edge of your work: you will see a braided line of V shapes. For row 2 and beyond, insert your hook under both loops of that V, starting in the very first stitch right below your chain 1. Work one single crochet under both loops of each of the 15 stitches. Do not work into the previous row’s chain 1. Count 15 single crochets, then repeat this row for practice.
The Turning Chain Rule
Turning-chain convention for this lesson
In this lesson, chain 1 does not count as a stitch. Work the first sc into the first real stitch and the last sc into the last real stitch, not into the chain 1.
Prefer to learn from a printed page?
Print this free lesson for a simple copy of the instructions. The planned paid PDFs are separate complete projects, with materials, measurements, step photos and finishing guidance.
Common Problems
| Problem | Cause | Fix |
|---|---|---|
| Edges sloping inward like a triangle | Missing the first or last single crochet of a row | Count your stitches at the end of each row. Place a locking stitch marker in stitch 1 and the last stitch. |
| Rows getting wider and wider | Accidentally working into the turning chain as an extra stitch | Do not put a stitch into the chain 1 at the beginning of the row. Stop after the last real single crochet. |
| Stitches are so tight you cannot push the hook through | Tensioning with a death grip on your working yarn or pulling after the yarn over | Rest your index finger gently on the yarn and let the hook barrel set the loop diameter. |
Frequently Asked Questions
Does the chain 1 count as a stitch?
In this lesson, no. Chain 1 provides height; the first sc goes into the first stitch at its base. Follow the stated convention when using another pattern.
Should I work into one loop or two loops?
Standard single crochet always goes under both loops of the top V. Working into the back loop only creates a ribbed texture, while front loop only creates a thin decorative ridge.
Why is my swatch curling upward?
Check your stitch count and placement first. A tight foundation chain can pull the bottom edge inward; try a looser chain or a slightly larger hook for the chain on a new sample. Curl can have more than one cause.
Can I use cotton yarn for this?
Yes. Smooth cotton can work well for a practice swatch or washcloth. It usually has less elastic recovery than wool. For heat protection, use a pattern and materials specifically suited to that purpose.
Save this tutorial or share with your crochet circle
What to Make Next
Three logical next steps to continue practicing:
Double Crochet: Faster, Softer Fabric in US Terms
Continue with this related lesson.
Classic Granny Square: The Step-by-Step Method
Continue with this related lesson.
How to Make a Magic Ring (Magic Circle) Without Tears
Continue with this related lesson.