

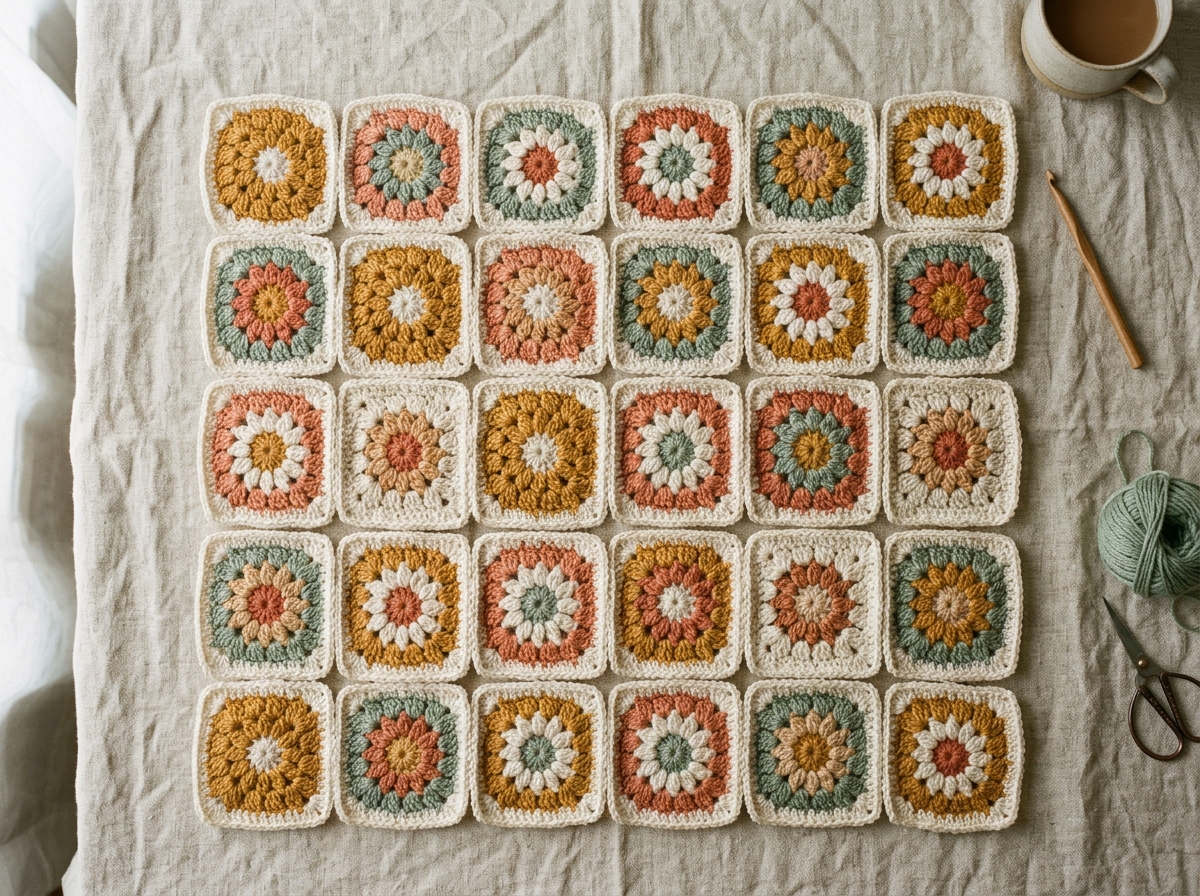
Classic Granny Square: The Step-by-Step Method
By The Slow Stitch · Terminology: US Crochet Terms · Reading time: 8 min read · theslowstitch.com
A classic granny square grows from groups of three US double crochets and corner chain spaces. Count four corners in each round, and check the instructions for the spaces between groups. Take it one round at a time.
What You'll Learn
By the end of this tutorial you will be able to:
- Work a chain-ring centre
- Make groups of three US double crochets
- Keep four corner chain-2 spaces
- Count four complete rounds
- Fasten off and secure the tails
What You Need
Worsted weight yarn in one or two contrasting colors
5.0 mm (US H/8)
Tapestry needle, Scissors
Use the materials above for practice, adjusting the hook if needed for comfortable stitches. For a finished project, follow its pattern’s yarn, gauge and care requirements.
Abbreviations
| Abbr | Full Term |
|---|---|
| ch | chain |
| dc | double crochet (US) |
| sl st | slip stitch |
| sp | space |
Make the centre ring
Chain 4 and slip stitch into the first chain. Work the next round into the centre hole, not into individual chains. This sample uses US terms, chain 3 counts as a dc, and rounds are not turned.
Round 1
Chain 3, work 2 dc into the ring, then chain 2. Work [3 dc into the ring, chain 2] three times. Slip stitch into the top of the starting chain 3. Count four groups of 3 dc (12 dc including the chain 3) and four corner chain-2 spaces.
Round 2
Slip stitch into each of the next two dc, then into the corner space. Chain 3; work [2 dc, ch 2, 3 dc] in that corner. Work [ch 1, (3 dc, ch 2, 3 dc) in the next corner] three times. Chain 1 and join to the top of the starting chain 3. Count 24 dc, four corner chain-2 spaces and four side chain-1 spaces.
Round 3
Slip stitch across the next two dc and into the corner. Chain 3; work [2 dc, ch 2, 3 dc] in that corner. Chain 1, work 3 dc in the next side chain-1 space, chain 1. Work [(3 dc, ch 2, 3 dc) in the next corner, ch 1, 3 dc in the next side space, ch 1] three times. Join to the top of chain 3. Count 36 dc, four corner chain-2 spaces and eight side chain-1 spaces.
Round 4
Slip stitch across the next two dc and into the corner. Chain 3; work [2 dc, ch 2, 3 dc] in that corner. Work [ch 1, 3 dc in the next side space] twice, then ch 1. Repeat [(3 dc, ch 2, 3 dc) in the next corner, (ch 1, 3 dc in the next side space) twice, ch 1] three times. Join to the top of chain 3. Count 48 dc, four corner chain-2 spaces and twelve side chain-1 spaces.
Finish the square
Cut an 8-inch tail, pull it through the last loop, and weave it through the backs of several stitches with a blunt needle. Change direction without distorting the fabric; secure the starting tail too. Check the ends after washing. Measure your square rather than assuming a standard size. If shaping is needed, follow the yarn care instructions.
Prefer to learn from a printed page?
Print this free lesson for a simple copy of the instructions. The planned paid PDFs are separate complete projects, with materials, measurements, step photos and finishing guidance.
Common Problems
| Problem | Cause | Fix |
|---|---|---|
| The square twists | Stitch lean, tension, or incorrect group and space counts can affect the shape | Check the counts for each round. This sample is unturned; patterns that turn between rounds use a different starting path. Try a turned-round pattern separately if the lean bothers you. |
| The center hole is huge and won't close | Starting with a large chain 5 or 6 ring | Use a magic ring or start with chain 4 joined with a slip stitch. |
| Corners are rounded instead of crisp 90 degrees | Only chaining 1 in the corners | Always use chain 2 (or chain 3 if your tension is very tight) in the four corners. |
Frequently Asked Questions
Should I turn my work after each round?
This sample stays on the same side. Turning between rounds can reduce accumulated lean, but changes the starting path; follow a pattern written for turned rounds.
How do I join granny squares together?
You can slip stitch them through the outer loops for a flat raised ridge, or use a mattress stitch with a needle for a completely invisible join.
Why do my sides bow outwards?
You might be chaining 2 between side clusters. On the straight edges, stick to chain 1 or even chain 0 if your tension is loose.
How big should a standard granny square be?
There is no single standard size. Yarn, hook and tension change the result. Measure your finished, cared-for sample before planning a blanket.
Save this tutorial or share with your crochet circle
What to Make Next
Three logical next steps to continue practicing:
Double Crochet: Faster, Softer Fabric in US Terms
Continue with this related lesson.
How to Make a Magic Ring (Magic Circle) Without Tears
Continue with this related lesson.
Slip Stitch and Invisible Finishing: Neat Edges and Seams
Continue with this related lesson.