

Crochet Hat Sizing: Measure Circumference, Ease and Fit
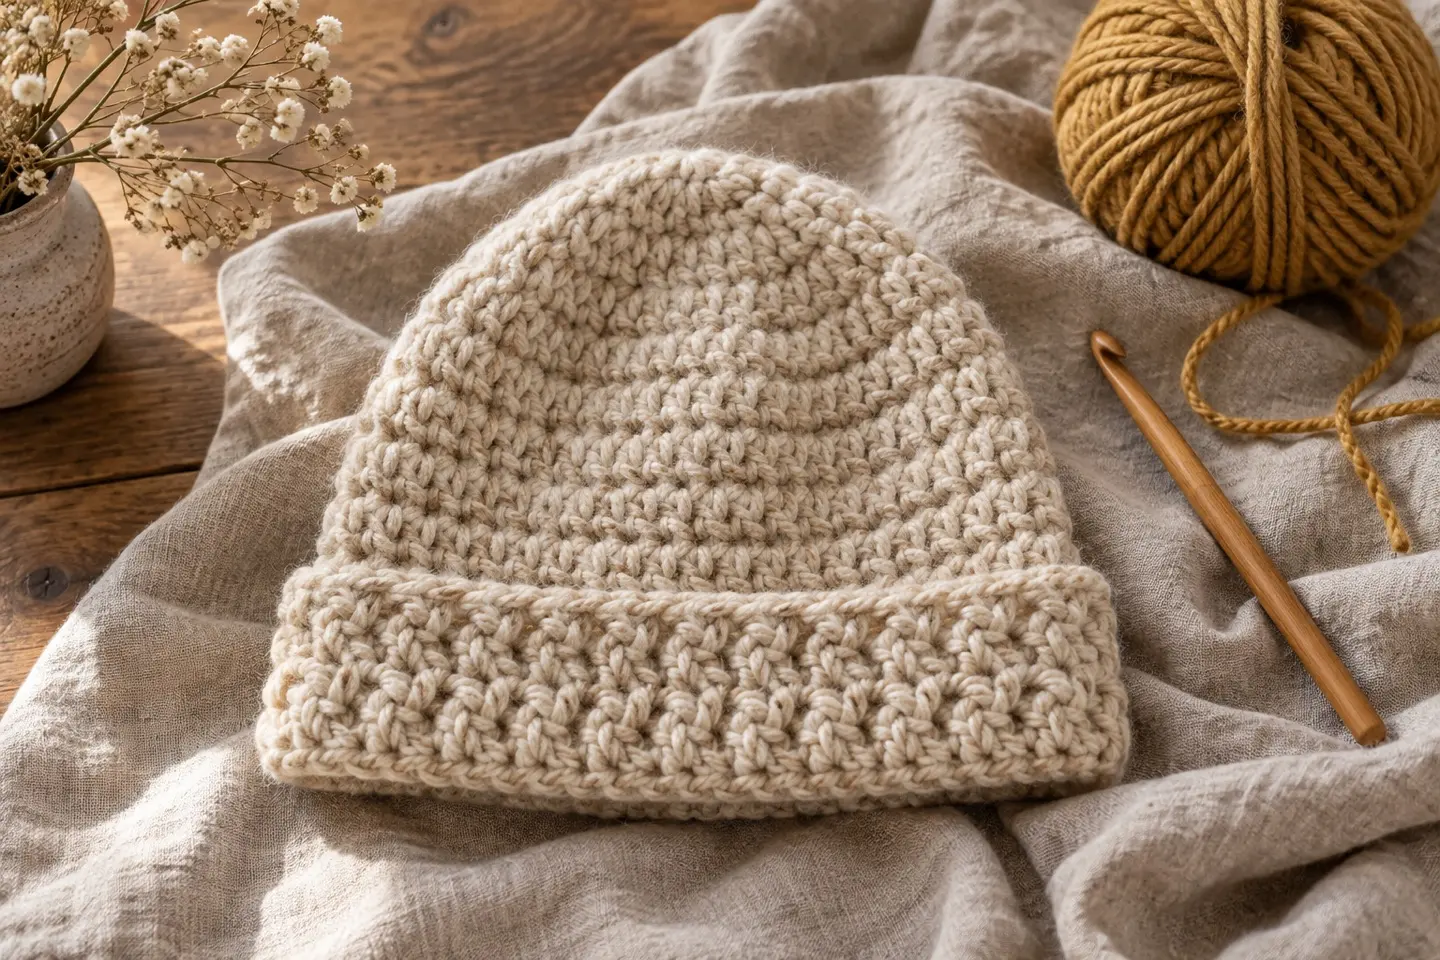
Start with the wearer and the pattern measurements
A size name such as adult small or child is only a starting point. Measure around the part of the head where the hat will sit, keeping the tape level and comfortably close without pulling it tight. When making a gift without access to the wearer, use the pattern’s size information and accept that a general age label cannot guarantee a particular fit.
Find out whether the pattern lists head circumference, finished hat circumference or both. Those numbers may intentionally differ. Also check the intended style: a close-fitting beanie, a relaxed hat and a slouchy design are not trying to create the same silhouette.
Understand ease before choosing a size
Ease is the difference between the finished item and the body measurement. Negative ease means the hat is smaller than the head before it stretches in wear. How much is suitable depends on the stitch, fibre, brim and design. There is no single subtraction that works for every crochet hat.
For an illustrative calculation, a 56 cm head and a planned 52 cm finished circumference have 4 cm of negative ease. That example is not a size recommendation. The pattern must be designed for its fabric to stretch comfortably and recover. A firm fabric that barely stretches cannot be treated like a flexible ribbed brim just because both were made with the same yarn weight.
Check gauge in the fabric the hat actually uses
Make the sample specified by the pattern and follow its finishing instructions. Measure it in a relaxed state unless the pattern explicitly asks for a stretched measurement. Inspect whether it recovers after gentle stretching. A correct stitch count is only part of fit: row height affects depth, and a tight joining seam can restrict an otherwise stretchy rectangle.
Write down both stitches and rows over the stated measurement. If you change yarn, do not assume the original hook size will preserve the fit. Compare the sample with the pattern before changing the size you plan to make; choosing a different size to compensate for unmatched gauge can disrupt the proportions of the whole design.
Top-down hats: use crown diameter as an estimate
For a flat circular crown, dividing the intended finished circumference by pi gives a useful geometric diameter estimate. A finished circumference of 52 cm corresponds to about 16.6 cm diameter. Use the finished target from the pattern, not automatically the head measurement.
Crochet fabric is not an exact rigid circle. Stitch height, shaping and stretch influence what happens when you stop increasing and continue the sides. Treat the calculation as a checkpoint alongside the written pattern and measurements. Do not replace a designer’s increase sequence with a generic formula simply because the arithmetic looks tidy. Ruffling or cupping can also reflect an increase or tension problem that diameter alone will not explain.
Rectangle hats: identify which direction becomes the circumference
Before starting, read how the rectangle is assembled. In some ribbed constructions, the starting chain runs from brim to crown and the accumulated rows wrap around the head. Other constructions use a different orientation. Confusing those directions can create a hat that is both too shallow and too wide.
Account for the seam, the gathered top and any folded brim as the pattern directs. Measure the rectangle without pulling it to an arbitrary length. If the instructions ask for a particular stretch during measurement, apply that consistently. A rectangle’s full height does not necessarily equal the usable depth after gathering and folding.
Troubleshoot a hat that is too wide, tight or shallow
First compare the actual stitch and row counts with the selected size. If counts match, compare gauge and finished measurements. A wider-than-planned hat can result from larger stitches; a tight brim may have a different gauge or joining tension from the body. Identify which part fails before unravelling everything.
If the circumference fits but the hat is shallow, check the depth instructions and whether a fold consumes more fabric than expected. Adding rounds may be appropriate for some straight-sided sections, but it can change shaping elsewhere. Follow the pattern’s adjustment guidance or choose a design that includes the depth you want. Blocking is not a dependable way to turn a fundamentally wrong size into the correct one.
Record the version that fits
Keep the size selected, yarn details, hook, gauge and final dimensions with the project. Note any deliberate extra rows, seam changes or brim adjustments. If the hat will be washed, follow the yarn and pattern care instructions and check its dimensions afterward. Fibre behaviour can change the result even when the initial fit was comfortable.
A successful first hat becomes a useful reference for the same wearer, but another stitch pattern will still need its own sample. Use your notes to ask better questions about a new design, not to assume every hat will fit with the same hook and stitch count.
A note to take with you
Start with the written pattern, measure a sample, and record one change at a time. The related stitch lessons below can help you practise before returning to the full project.