

Crochet Hats: From First Stitch to Finished Beanie
Crown math, slouch adjustments, and ribbed brims that fit snugly without sliding off.
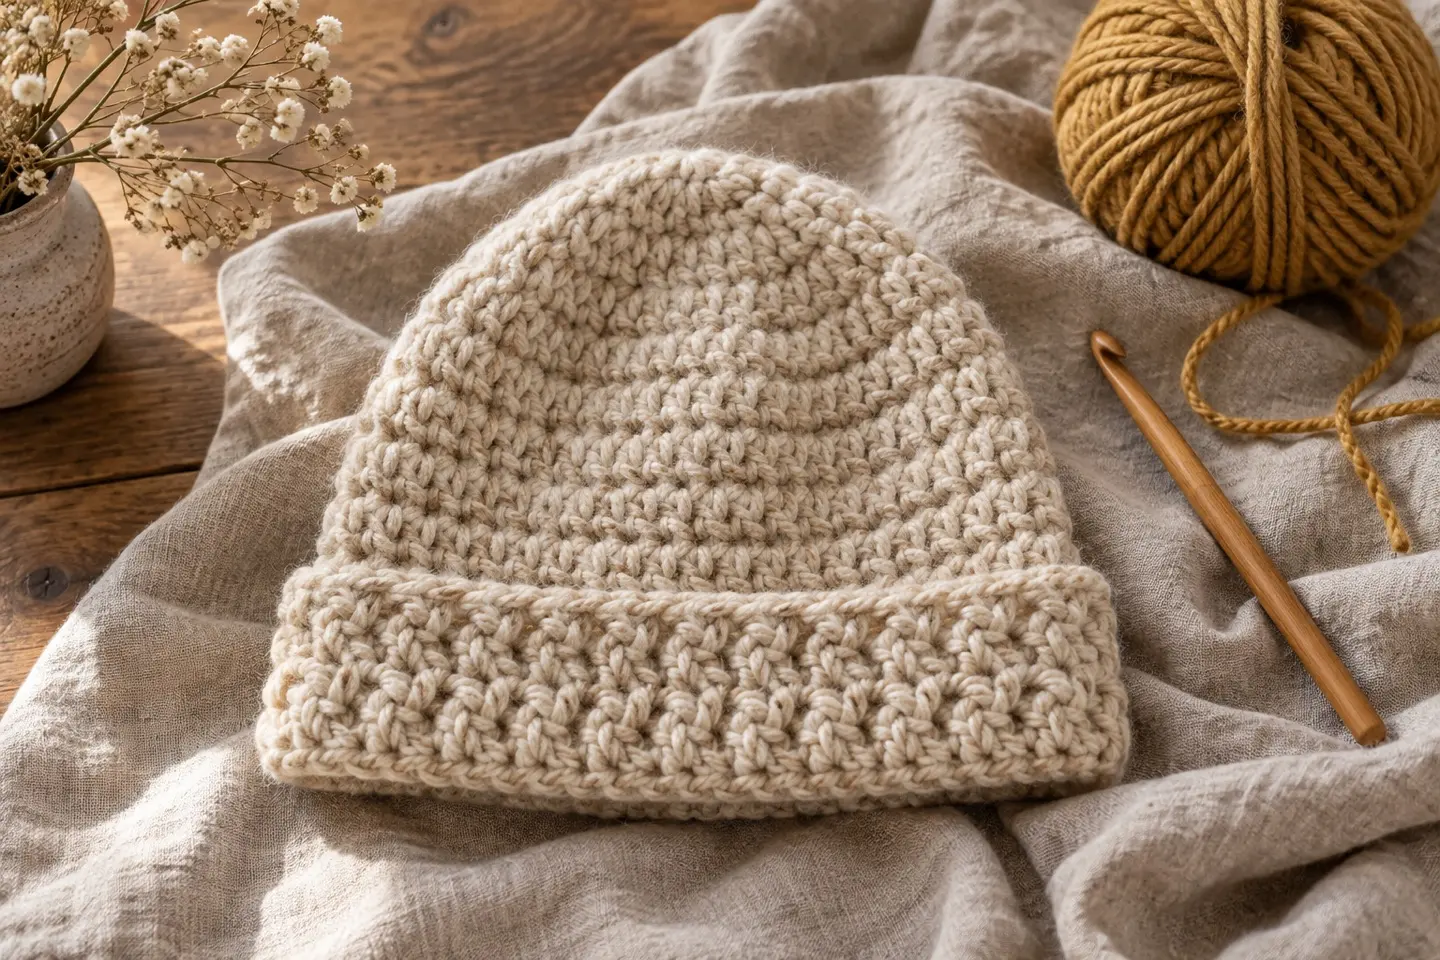
1. Three Common Hat Constructions
Understand the construction method before you pick your yarn and hook.
Top-down hats increase from the crown, then continue in rounds to form the body. Bottom-up hats begin at the brim and decrease toward the crown. Side-to-side hats use rows to form a panel that is seamed, with the top shaped or gathered as the pattern specifies. Each method can produce different fits; yarn, gauge and stitch pattern determine stretch.
2. The Crown Sizing Formula: Stop Increasing at the Right Width
Finished circumference divided by pi gives a rough crown-diameter starting point.
First choose the finished hat circumference using the pattern’s intended ease and your measured gauge. As a rough geometric guide for a flat top-down crown, divide that finished circumference by pi. For example, a 20-inch finished circumference gives about 6.4 inches across. A 22-inch head does not automatically need 2 inches of negative ease: stretch, fibre, stitch and preference affect the target. Crown shaping and gauge can change the result, so follow the pattern and check fit.
3. Back-Loop-Only (BLO) Ribbing That Actually Stretches
Back-loop-only rows can create flexible ribbing; the yarn and gauge control recovery.
The back loop is the strand of the top V farthest from you as you view the stitch. Working single crochet through it alone leaves the front loop unworked and creates ridges in turned rows. A ribbed brim pattern will specify the row count, stretch and joining method. Make a sample to check whether it recovers after stretching.
4. Closing the Top Without a Bulky Bunch
Use the crown shaping written for your chosen construction.
A bottom-up hat usually reduces its stitch count before the final opening is gathered. For arithmetic only, sc2tog around 60 stitches produces 30; repeating it produces 15, not 20. This is not a universal crown recipe: decrease placement, number of rounds and final count depend on the pattern. A side-to-side hat may need short rows or a different gathering method.
Keep learning with these lessons and articles
Practise a stitch or explore a related question with these guides.
Common questions
How much yarn do I need for an adult beanie?
Use the yardage or metre requirement for your chosen pattern and size, allowing for a swatch and any changes. A 100 g ball does not contain a fixed length across different yarns.
Why is my hat sticking straight up like an elf cap?
A cone can result from the increase rate, stitch height, gauge or intended shaping. Check your round counts and gauge against the pattern before adding more increases.
How do I make a hat slouchy instead of fitted?
Use a pattern with the intended slouch or its stated length adjustment. Extra body rounds can add length in some constructions, but crown and brim design still matter; there is no one length for every head size.