

6 Common Crochet Mistakes Beginners Make (And How to Fix Them)
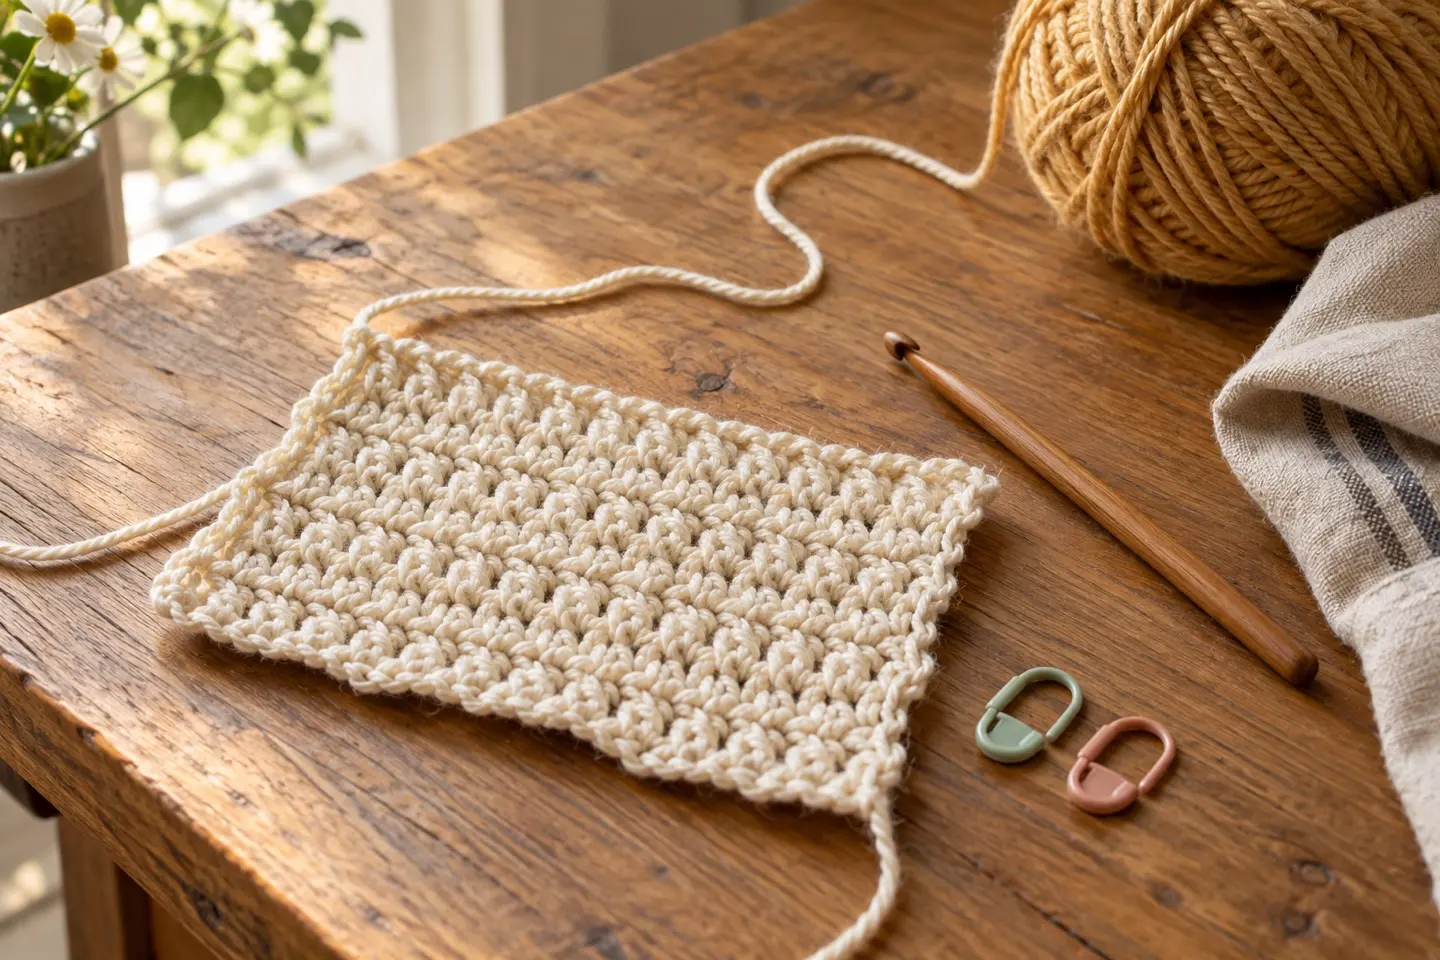
1. The Disappearing Edge: Missing the First or Last Stitch
If a row becomes shorter, check whether a stitch was missed at either edge. First establish whether the turning chain counts as a stitch in your specific pattern; this changes where the first and last stitches belong.
2. The Curling Foundation Chain (The Potato Chip Effect)
A tight foundation chain can pull the first row out of shape. Other causes include stitch placement and changing stitch counts, so check those as well.
3. The Splitting Yarn Snag
Splitting happens when the hook catches only some plies of the yarn. Check that you enter the intended stitch opening and catch the whole working strand. Yarn construction, hook shape and tension can all contribute.
4. The Stiff-as-Cardboard Fabric (Tension Choke)
Stiff fabric can come from tight tension, a small hook relative to the yarn, or the chosen stitch pattern. Compare with the pattern’s gauge and intended fabric. Pause if your hands or wrists hurt, and try a small adjusted sample before changing a whole project.
5. Working Into Only One Loop by Accident
Unexpected ridges may mean you are working into one loop, although some stitches intentionally create ridges. Inspect the top of the previous row: a usual stitch has a front and a back loop forming a V. Check the pattern to see whether it asks for both loops, front loop only, back loop only, a chain space or another insertion point.
6. Choosing a Finishing Method
Blocking may help even the shape of some projects, but the method depends on the fibre and the intended result. It cannot correct a missing stitch or a mistaken row count.
Diagnose an uneven piece before pulling it apart
Lay the work flat and compare the last completed row with the first. Count actual stitches using the pattern’s turning-chain convention. If the count changes, trace backwards to the first row where it differs. An extra stitch can come from working into the base of a counted turning chain as well as counting that chain; a missing stitch can come from overlooking the final stitch at the edge.
If counts are consistent but the width changes, check whether your loop size has changed, whether you switched hooks or whether the first chain is unusually tight. A piece can also curl because of its stitch structure. Count and identify the stitches before assuming every curve is a tension problem. Photographing the work before undoing it can help you compare the corrected attempt, but do not rely on appearance alone to decide where a stitch belongs.
Make a controlled correction
Choose a small practice rectangle using the same yarn and stitch as the troublesome project. Place a marker in each edge stitch and count every row. If you are testing a hook change, keep the stitch count, yarn and working method the same. If you are testing a turning-chain convention, follow the exact convention in that pattern rather than switching between two tutorials midway through.
For example, a practice piece with 12 single crochets should still have 12 single crochets after each ordinary row with no shaping. When its turning chain is not counted, that chain is not a thirteenth stitch. This is an example for learning, not a replacement for a pattern’s starting count. The point is to make the expected count explicit before you begin.
When to undo the work and when to keep practising
For a fitted garment, a repeated count error can change the size or prevent later shaping from lining up. For a square that will be joined to others, a wrong edge count can make joining difficult. In those cases, correcting the mistake early is usually less work than trying to hide it at the end. Return to the last correctly completed part and rebuild from a known count.
For a practice sample, you may decide to leave an early uneven section in place and continue with the correction. Mark where the change began so you can compare. Minor tension differences can improve as you practise, but washing and blocking cannot reliably repair an incorrect stitch sequence. Decide based on the function of the piece, not on an expectation that a first sample must look flawless.
Keep a short project note
Write down the pattern name, hook size, last finished row or round, and any deliberate modifications. Record whether the turning chain counts and where you place your edge markers. If you put the work away, secure the working loop with a marker and keep the yarn label nearby.
When asking for help, include the relevant short instruction, the stitch count you expected and the count you actually have. Show both edges and the top of the latest row. Specific information makes it easier to distinguish a missed stitch from a tension change. You do not need a new tool for every problem; a clear count and a careful look often tell you what to try next.
A note to take with you
Every mistake on this list is a rite of passage. If you have to rip out three rows today, do not view it as wasted time. You just got extra practice with the yarn you love.