

How to Measure Crochet Gauge and Adjust Your Swatch
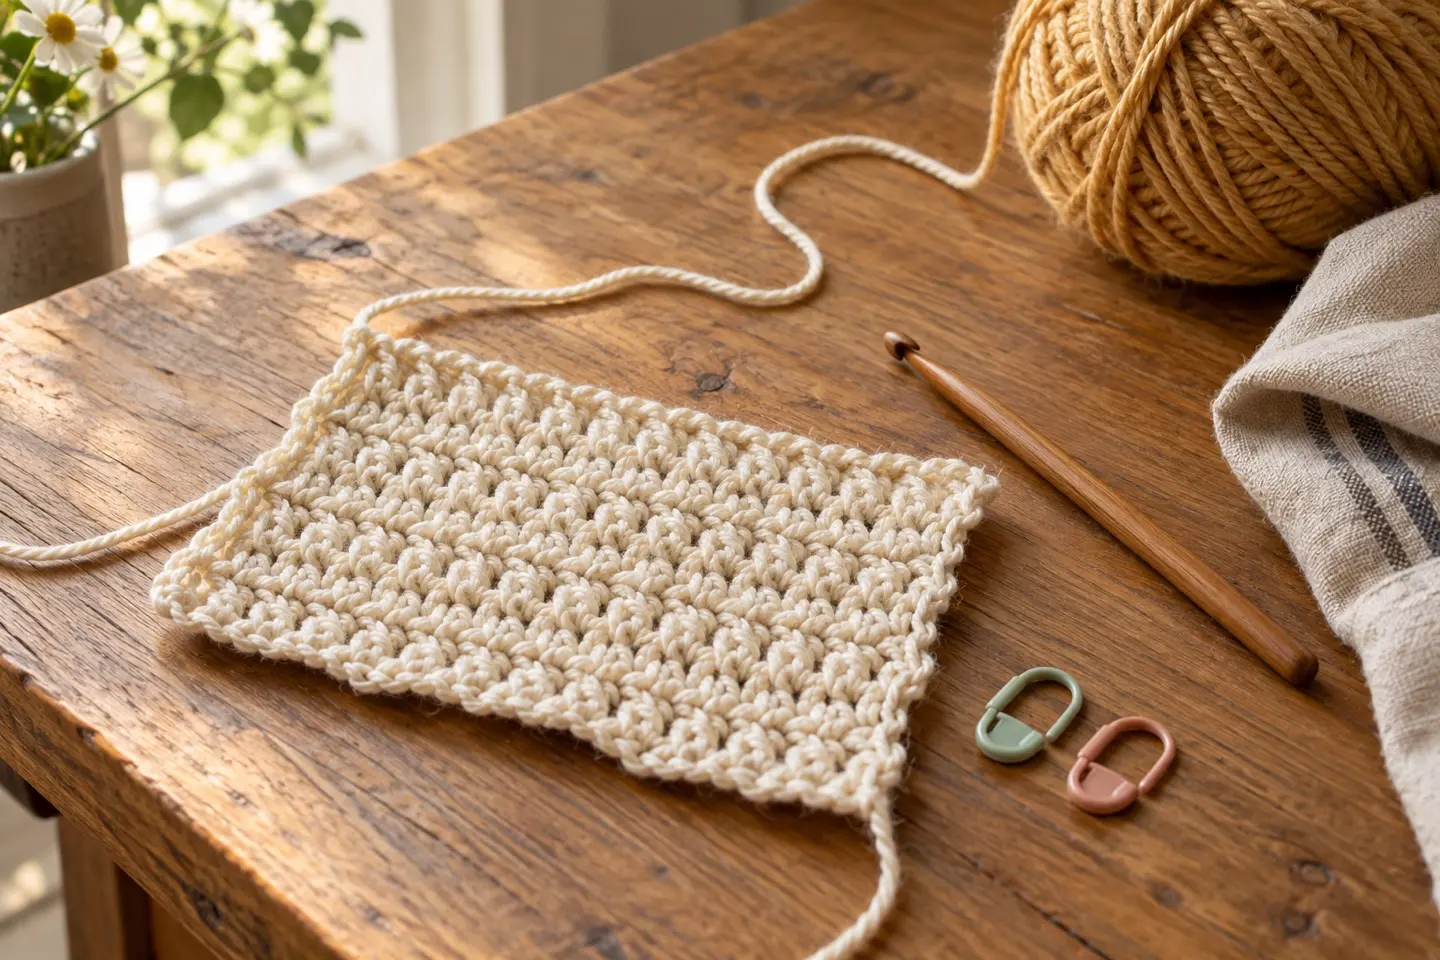
What does crochet gauge mean?
Crochet gauge describes how many stitches and rows occupy a stated measurement in a particular stitch pattern. A pattern might specify 16 stitches and 20 rows across a 10 cm square; another might measure a larger stitch repeat or a whole motif. Read the units and the method rather than assuming every gauge statement refers to plain single crochet.
Gauge connects the written instructions to the intended size. Two people can follow the same stitch count with the same hook label and produce different widths. It is not a judgement about which person crochets correctly. It is information you use to make the fabric and dimensions the pattern expects.
Read the gauge instructions before making the sample
Check the yarn, hook, stitch pattern, measurement area and finishing instructions. Establish whether the gauge is measured before or after washing or blocking. If the project is worked in rounds and the pattern specifies a sample in rounds, follow that method; working back and forth can change your tension.
Use the yarn you intend to use for the project. Substituting it after you make a sample defeats the purpose. Keep a note of the hook’s metric size and the stitch repeat. If instructions do not explain an essential detail, ask the designer or choose a pattern with clearer information rather than making a large project around a guess.
Make room to measure away from the edges
Work a sample wider and taller than the area you will measure, allowing for any required stitch multiple. Edge stitches can behave differently from the centre. A foundation chain can also pull the bottom edge tight, so measuring the entire sample from corner to corner may give a misleading result.
Lay the completed swatch on a flat surface without stretching it. Let it rest and finish it as the pattern instructs. Use a ruler or a stable measuring tool across the central area. Choose a consistent starting point, count the stitches over the specified width, then count rows over the specified height. Include a partial stitch when appropriate instead of rounding automatically to a convenient whole number.
Compare stitch gauge and row gauge separately
Write down both results. Having the correct number of stitches across does not prove that row height also matches. A garment worked to a stated length may respond differently from one whose shaping depends on an exact row count. Read the construction before deciding that a mismatch is harmless.
As a numerical example, a pattern expecting 16 stitches per 10 cm would make an 80-stitch section about 50 cm wide. At 20 stitches per 10 cm, those same 80 stitches would be about 40 cm wide. This calculation assumes a consistent stitch pattern and excludes seams and borders. It illustrates why a small difference in a swatch can become substantial across a whole piece.
What to try if there are too many or too few stitches
Too many stitches within the specified width means your stitches are smaller than the target. A larger hook is a common next experiment. Too few means your stitches are larger; a smaller hook is a common next experiment. Make another sample and compare instead of assuming one hook-size change guarantees a match.
Also inspect the fabric. If matching the gauge makes it unusually stiff or loose compared with the intended result, the yarn substitution may be unsuitable. A matching yarn-weight category alone is not enough to guarantee the same behaviour. When stitch gauge matches but row gauge does not, consult the pattern’s guidance rather than forcing the swatch into shape or changing row counts without checking the shaping.
Do scarves, blankets and toys need a gauge swatch?
Fit makes gauge especially important for hats and garments, but unfitted projects also have dimensions and yarn requirements. A blanket made at a different gauge may be much larger than planned or use more yarn. A scarf may have an unexpected drape. A toy can change scale and expose stuffing through a looser fabric.
For an informal practice square, exact dimensions may not matter. For a project you want to reproduce or give as a specific size, measure. Follow any fabric-density guidance in an amigurumi pattern as well as its dimensions. A correct arithmetic estimate does not establish that a toy is safe for its recipient.
Keep the sample with your project notes
Record yarn details, hook size, stitch and row counts, how you finished the sample and which side you measured. Keep the swatch until the project is finished so it remains a reference if your tension changes. Measure the project again after the first workable section rather than waiting until the final seam.
Use your sample to investigate one variable at a time. Changing yarn, hook and stitch pattern simultaneously may produce an attractive fabric, but you will not know which change caused a size difference. A small, documented experiment is easier to repeat and gives you more useful information than repeatedly restarting the full project.
A note to take with you
Start with the written pattern, measure a sample, and record one change at a time. The related stitch lessons below can help you practise before returning to the full project.